Starting a first aquarium is exciting. It often feels overwhelming too. You have likely seen conflicting advice online that makes the process harder than it needs to be.
This guide walks you through the exact process we use to set up successful freshwater aquariums.
We have helped hundreds of first-time fishkeepers get started. The key to success is patience and proper preparation. Let’s look at the data, what it actually tells us, and then explore a practical way to build your tank.
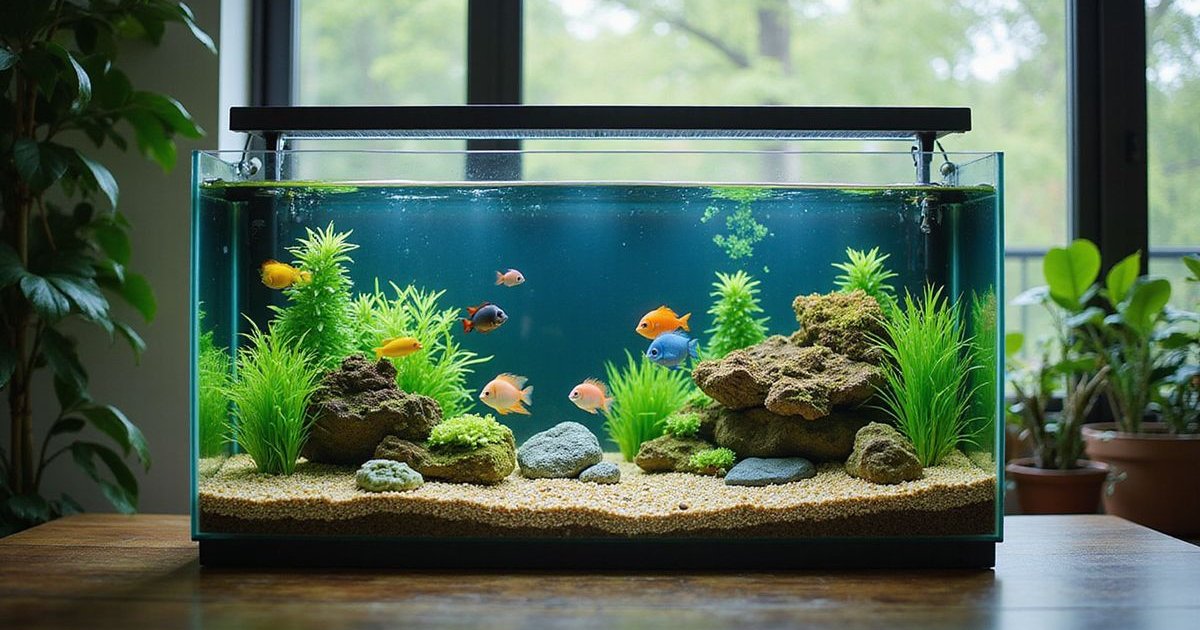
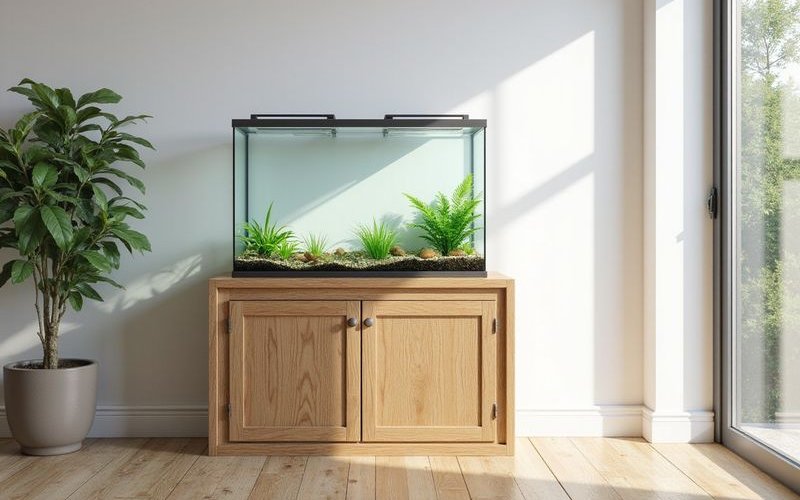
Choosing Your First Tank
Bigger is actually easier. A larger volume of water dilutes mistakes. If you accidentally overfeed or a heater malfunctions, a 40-gallon tank remains stable much longer than a 10-gallon one.
We recommend starting with a 20-gallon “Long” or a 29-gallon tank. This size offers the perfect balance of stability and manageability for a beginner.
Understanding Weight and Location
You must consider the structural impact on your home or office. Water is heavy.
- Water weight: 8.34 lbs per gallon.
- Substrate weight: Roughly 1-1.5 lbs per gallon of tank volume.
- Glass weight: A standard 20-gallon tank weighs about 25 lbs empty.
A fully set up 20-gallon aquarium will weigh approximately 225 pounds. Standard particle-board furniture cannot support this long-term. You need a stand specifically built for aquariums or solid wood furniture capable of holding that focused weight.
What to avoid:
- Tanks under 10 gallons: Often called “nano tanks,” these require expert attention to maintain water chemistry.
- Bowls: These lack proper surface area for gas exchange and have no room for essential filtration.
- “All-in-One” Kits: While tempting, the included lights and filters are often underpowered for the long term.
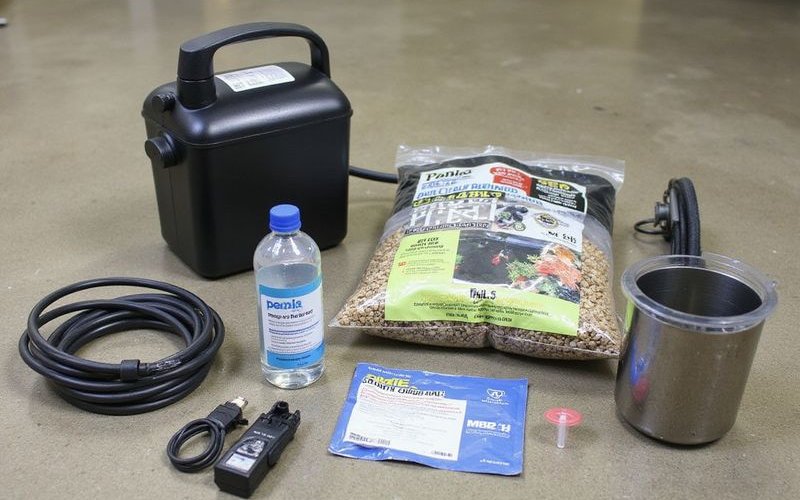
Essential Equipment
Here is the hardware you actually need to run a safe, clean system.
The Must-Haves
We prioritize equipment that prevents common failures.
- Tank with hood or lid: This prevents fish from jumping out and reduces evaporation by up to 50%.
- Filter: Aim for a “turnover rate” of 4 to 6 times your tank volume per hour. For a 20-gallon tank, you want a filter rated for at least 80-100 gallons per hour (GPH). Brands like AquaClear or Tidal are industry favorites for reliability.
- Heater: The general rule is 5 watts per gallon. A 20-gallon tank requires a 100-watt heater to maintain a stable tropical temperature of 76-80°F.
- Thermometer: Digital thermometers are easier to read than the “sticker” style strips.
- Substrate: Inert gravel or sand. You will need about 15-20 lbs for a 20-gallon tank to achieve a 2-inch depth.
- Water conditioner: Tap water contains chlorine and chloramines which kill fish. Products like Seachem Prime are highly concentrated and cost-effective.
- Test kit: Liquid tests are the industry standard. The API Freshwater Master Test Kit provides accurate readings for pH, ammonia, nitrite, and nitrate.
Nice to Have
These items make maintenance significantly easier.
- Live plants: Plants like Anubias or Java Fern consume nitrates and improve oxygen levels.
- Timer for lights: Consistent lighting (8-10 hours a day) prevents algae blooms.
- Siphon/Gravel Vacuum: Tools like the Python No Spill Clean and Fill connect directly to your sink, eliminating the need to carry buckets.
- Designated Bucket: Detergent residue in a household bucket can crash a tank ecosystem.
Setting Up Your Tank
Step 1: Leak Test and Location
We always suggest a “dry run” for safety. Fill your new tank with tap water in a garage or bathtub and let it sit for 24 hours.
If it holds water, move it to its permanent location.
- Near an electrical outlet (you will need a drip loop).
- Away from direct sunlight to prevent uncontrollable algae growth.
- Away from heating/AC vents that cause temperature swings.
- On a verified level surface.
Step 2: Rinse Substrate and Hardscape
Dust from new gravel will cloud your water for days if not removed. Rinse your substrate in a bucket with a hose until the water runs clear. Rinse rocks and decorations with plain water only. Never use soap or household cleaners.
Step 3: Add Substrate and Hardscape
Layer your substrate 1-2 inches deep. Sloping the gravel higher in the back creates a sense of depth. Place your rocks or driftwood now.
Step 4: Fill with Water
Pouring water directly onto the gravel will ruin your slope. Place a dinner plate on the substrate and pour the water onto the plate. This diffuses the force. Fill the tank about halfway.
Step 5: Install Equipment
Place your heater and filter.
- Heater Safety: Do not plug the heater in yet. It must be submerged for at least 15 minutes before turning on to acclaimate to the temperature.
- Filter Setup: Fill the filter box with water (priming) before plugging it in.
Step 6: Add Plants and Finish Filling
Planting is easier when the water level is low. Once plants are in, finish filling the tank and add your water conditioner to dechlorinate the tap water.
Step 7: The System Check
Turn on the filter and heater. Verify water is flowing and the heater light is active. Let the system run for 24 hours to stabilize temperature and ensure there are no slow leaks.
The Nitrogen Cycle: Why Patience Matters
This is where 90% of beginners fail. You cannot add fish immediately.
We emphasize this because your tank is a living biological system, not just a glass box. It needs to grow a colony of beneficial bacteria (Nitrosomonas and Nitrobacter) to process waste.
Here is the biological process:
- Ammonia: Fish waste and decaying food produce ammonia (highly toxic).
- Nitrite: Bacteria convert ammonia into nitrite (still toxic).
- Nitrate: A second type of bacteria converts nitrite into nitrate (safe in low levels).
- Removal: You remove nitrate through weekly water changes.
This cycle naturally takes 4-6 weeks. Rushing this step leads to “New Tank Syndrome,” which is the leading cause of fish loss.
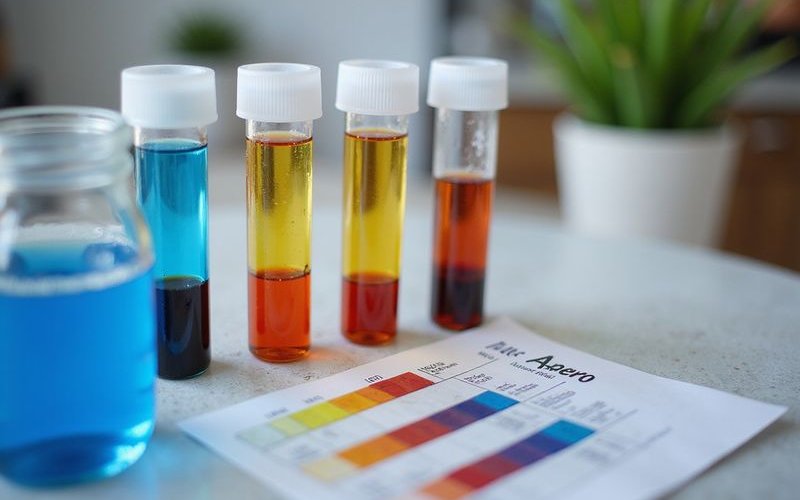
How to Cycle Your Tank
Fishless cycling allows you to build a bacterial colony without harming any animals.
- Ammonia Source: Add a pinch of fish food or pure ammonia (dr tim’s ammonium chloride) to the water.
- Testing: Test your water every 2 days. You will see Ammonia spike, followed by a Nitrite spike a few weeks later.
- Completion: When your test shows 0ppm Ammonia and 0ppm Nitrite within 24 hours of adding an ammonia source, your tank is cycled.
- Final Step: Perform a 50% water change to lower nitrates before buying fish.
We offer free water testing to help you track your cycle.
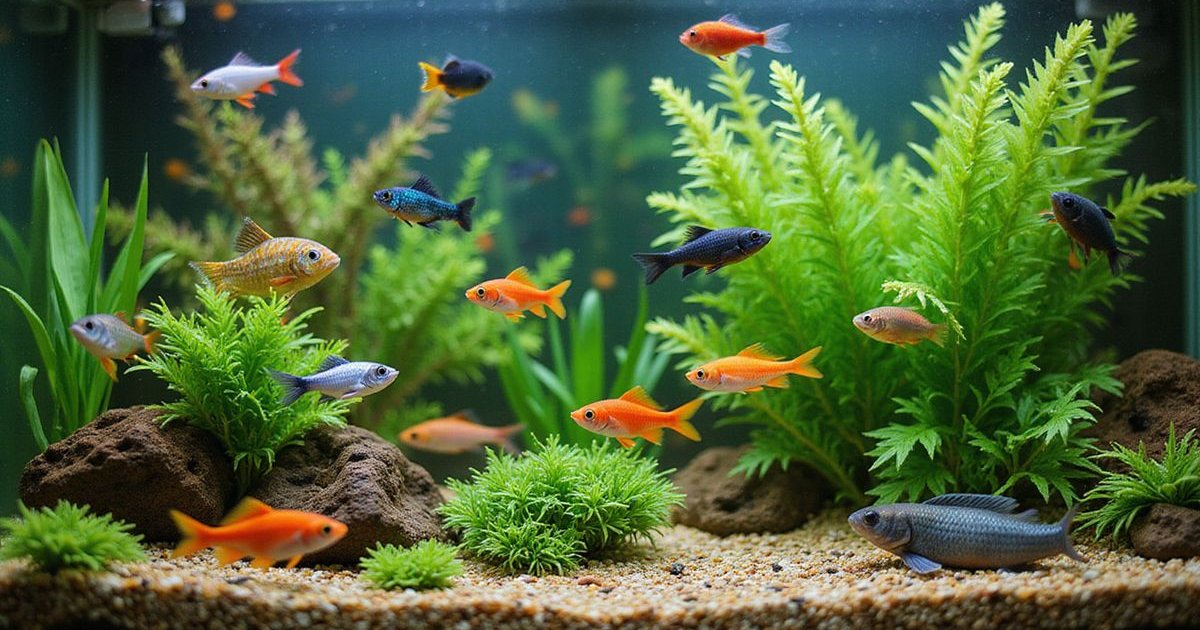
Choosing Your First Fish
Once your tank is cycled, you must stock it slowly.
We recommend adding only 3-4 small freshwater fish at a time. This allows your bacterial colony to grow to match the new waste load.
Stocking Choices for Beginners
| Fish Species | Why They Work | ”School” Size Required |
|---|---|---|
| Platies | Very hardy, colorful, and peaceful. | 3+ |
| Corydoras Catfish | Excellent cleaners for the bottom of the tank. | 6+ |
| Zebra Danios | Active swimmers that tolerate a range of water conditions. | 6+ |
| White Cloud Minnows | thrive in cooler water (room temp is often fine). | 6+ |
| Cherry Barbs | A peaceful, bright red alternative to aggressive Tiger Barbs. | 6+ |
Wait until you have more experience:
- Goldfish: They produce massive amounts of waste and outgrow standard tanks quickly.
- Discus: These require pristine water and high temperatures.
- Large Cichlids: Many are aggressive and will destroy plants.
Ongoing Care
Freshwater aquariums are low maintenance if you stay consistent.
We follow this simple schedule to keep tanks crystal clear:
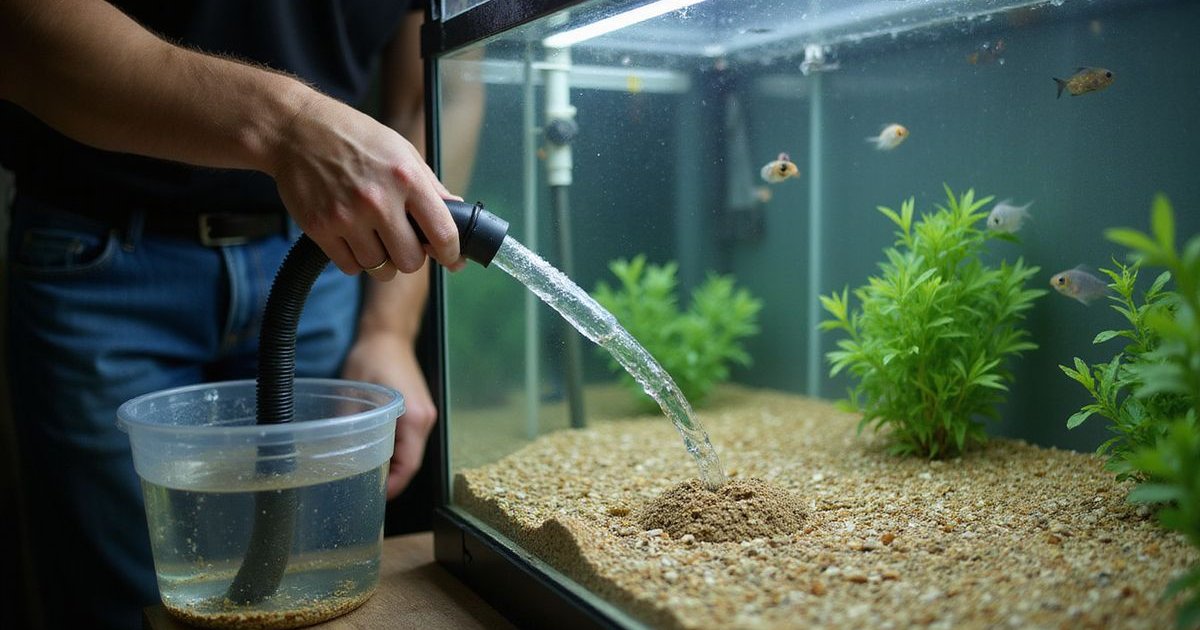
- Weekly: Change 20-25% of the water. Use a gravel vacuum to remove waste from the substrate. Top off any evaporation with dechlorinated water.
- Monthly: Rinse filter sponges in old tank water (not tap water). Chlorine in tap water kills the beneficial bacteria living in your filter.
- As needed: Test water parameters to catch issues early. Clean algae off the glass.
Common Beginner Mistakes
- Adding fish too soon: Patience during the cycle saves money and lives.
- Overfeeding: A fish’s stomach is roughly the size of its eye. Feed only what they can eat in 2 minutes.
- Overstocking: The “one inch of fish per gallon” rule is outdated. Stock lightly to keep maintenance low.
- Skipping water changes: New water replenishes essential minerals and removes hormones.
- Panic reactions: If a parameter is off, do not dump in chemicals. A partial water change is usually the safest fix.
Ready to Get Started?
Stop by Gulf Coast Aquatics and we’ll help you choose the right tank and equipment for your space and budget.
Our team can walk you through the setup process and be here to answer questions as your tank cycles.
Fishkeeping transforms a room and provides a relaxing focal point for any home or office. Take it slow, verify your water quality, and enjoy the ecosystem you build.
Tags
Gulf Coast Aquatics
Your local aquarium experts in Sarasota. We're real fishkeepers sharing what we've learned from years of experience keeping freshwater and saltwater tanks.